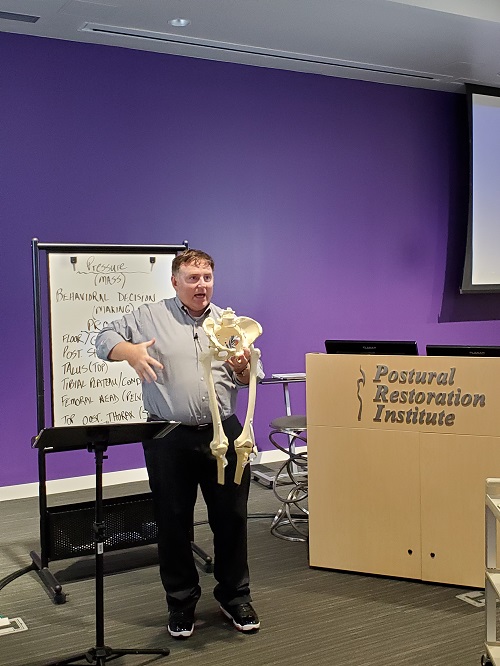
Every December I reflect on my past year personal and professional activities, a few days before beginning the Advanced Integration course. My inner wellness usually transforms during these four days because of the way I feel connected in real time with real bodies, who have real interest in how our bodies transform by revolving and evolving around axial sagittal verticality and appendicular horizontal integration. I need this eye-level connection with other people to complete my year and to advance myself, as well as the science I am so obsessed with. This past year, as challenging as it was, advanced all of us because we needed to connect with technology in ways that we never have before; to revolve, evolve, and transform with other people.
Technology is value neutral. It becomes value non-neutral, depending how one uses it. The amount of time I spent this last year in some virtual space, or in the space above my neck, by observing bodies above the neck, is overwhelming. However, because of my need to connect with real people, real bodies with real interactive interest, I had to do so with eyes primarily, that were all at eye-level with mine. Body language became eye language.
This opportunity to interconnect, virtually, reduced my isolation and actually advanced me in so many ways. I have never been more prolific or productive, in my life, like I have been this year. New courses composed, books read, research reviewed, interdisciplinary collaboration, etc. all reduced potential obsolescence because of technology. Who would have thought a little virtual reality would advance us, like it has.
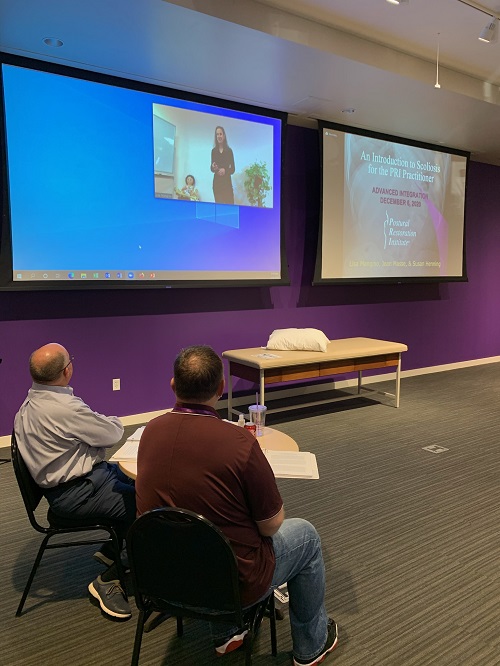
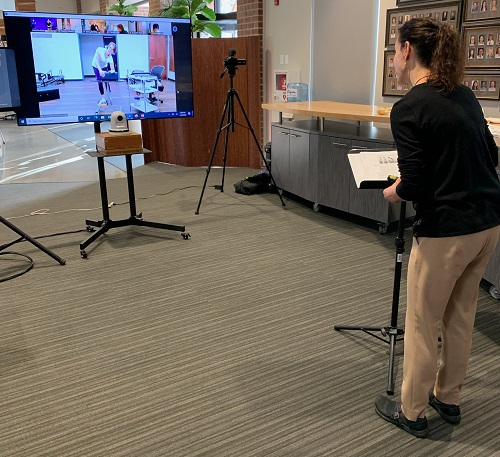
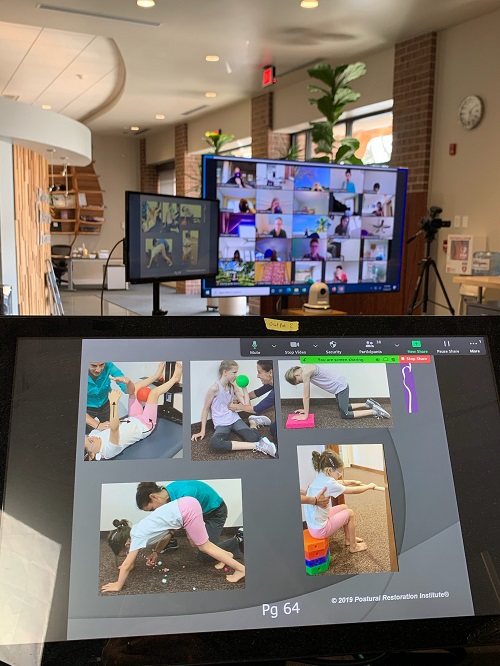
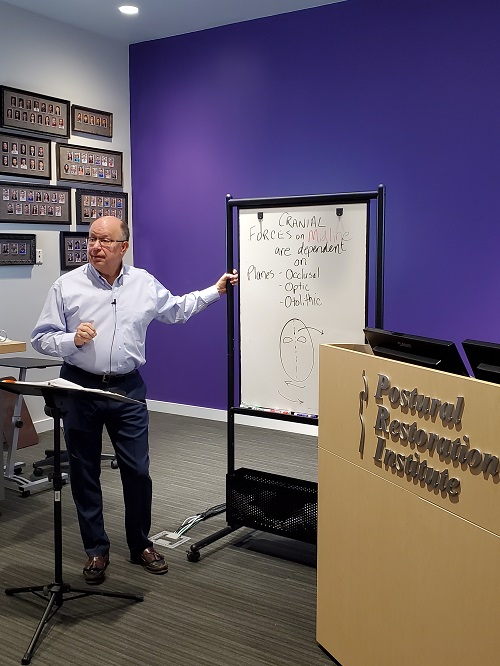
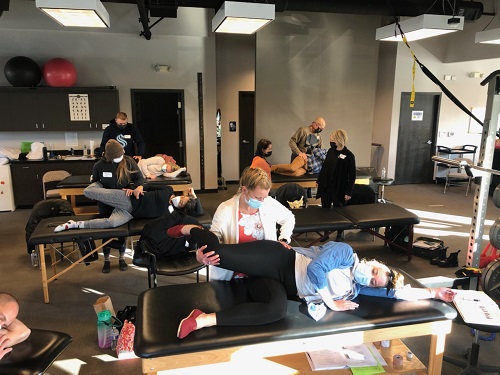
Therefore, it just seemed natural, that after a year of virtual wellness, we would host an Advanced Integration course with 11 people (PRC applicants) actually sitting to the left and in front of me and 100 people sitting in a ‘Hollywood Squares’ box, slightly to the right and also, in front of me. It advanced all of us who were in attendance. We received the best of two worlds of advanced postural restoration presence. This advanced technology seemed so value non-neutral challenging, so futuristic, so non-elementary, so alive and yet so unimaginable, because we were all not in the same room and breathing in the same space. Everything we did the year before, now feels so retro.
This December my inner wellness rose to a new, novel and an unnatural high. And I am sure all of the future December PRI Advanced Integration course attendees will reflect on the how “real”, integration feels during these four days, in real time, with real bodies on one side of the room and real faces on the other, all because of value non-neutral technology.
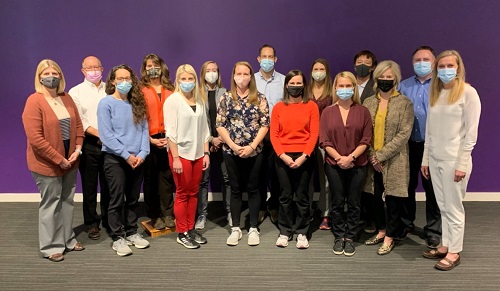
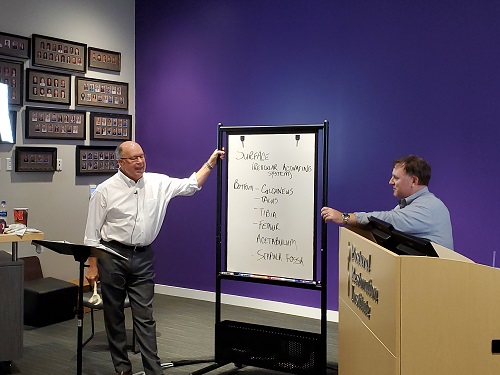
I want to thank Dan Houglum, MSPT, ATC/L, PRC, Lori Thomsen, MPT, PRC, Jean Masse, DPT, OCS, ATC, PRC, Lisa Mangino, DPT, PCS, C/NDT, PRC and Jen Platt for making this course so connected and so advanced, in a time where there is so much uncertainty.